The thought of loosing a UAS drone due to a flyaway, or crashing somewhere out of visual range, is enough to keep even the most conscientious multi-rotor drone pilot on constant edge.
The best thing you can do is… never fly, go and sell all your kit and take up fishing. Seriously though, implement as many measures as possible to increase the chance of getting your multi-rotor drone back, even if it’s in several pieces ; )
Lost Multi-rotor Drone
I always strongly advise anyone new to unmanned aircraft systems to install a GPS tracker. One of these handy gadgets has got me out of a very sticky situation in the past, i.e, almost loosing my Phantom 2… it’s a long (quite funny) story, but trust me, those things really are well worth the money. Check out my tutorial for installing a TK102 GPS tracker inside a Phantom 2 airframe.
Back to business. Applying an ‘If found…’ sticker onto your multi-rotor drone airframe is another such measure which may just reunite you and your beloved multi-rotor drone should the worst happen. Of course, there are no guarantees, but I’ve heard a good few stories where some stressed out pilots received a welcome phone call to alert them their drone had been found. Remember, good fortune favours the brave.
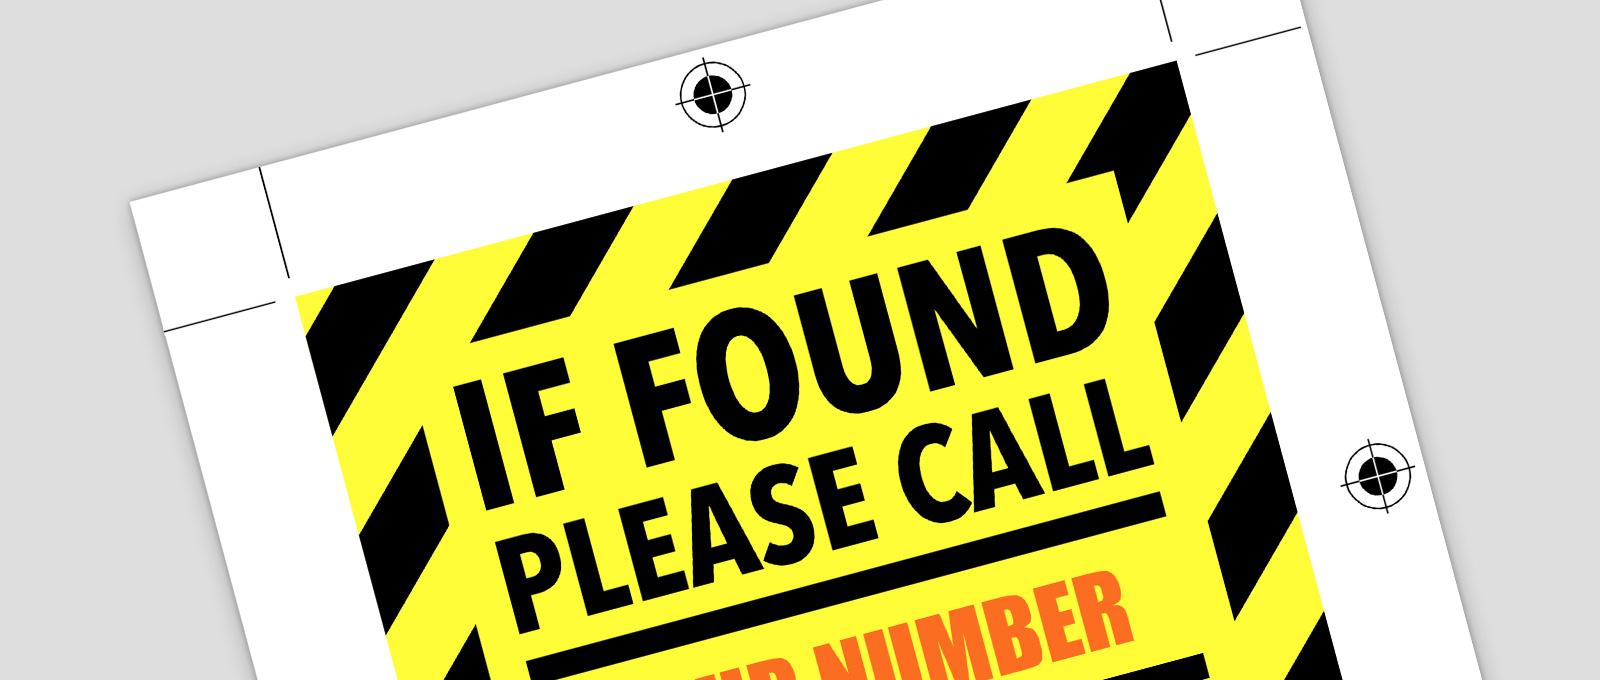
I’ve created an neat little graphic which will enable you to create your own eye grabbing sticker. Here’s the full SP:
Tool list
- Double sided tape
- Scalpel or scissors
- Self Adhesive Covering Film (fig.1)
- Colour printer + paper
-

fig.1 -
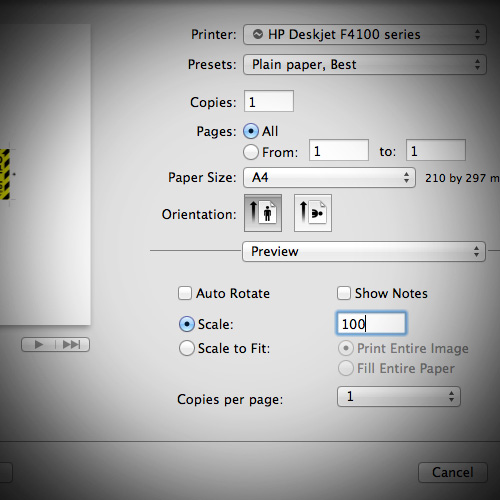
fig.2 -
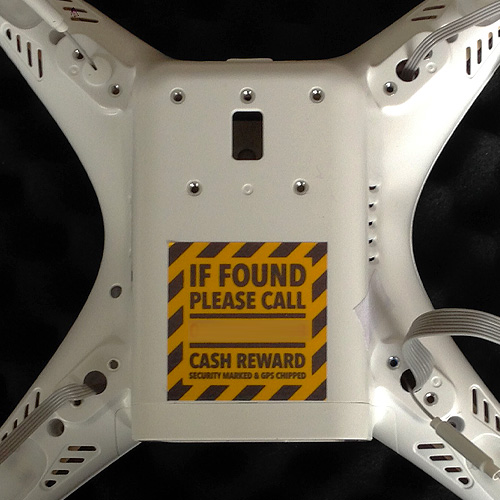
fig.3
Process
- Download the sticker file for your multi-rotor drone.
- Open the PDF in a decent reader app, Adobe Acrobat or Apple’s Preview will both work fine.
- Click and replace the red text and type in your phone number.
- In your reader app’s menu, select ‘Print’ and make sure you reduce the scale down to 100% (fig.2)
- Stick some self adhesive covering film over the graphic, this will keep it semi-weather proof.
- Stick some double sided tape onto the back of the graphic, make sure it’s all covered.
- Grab a cutting mat and scalpel, or some scissors, and cut the sticker out.
- Peel the backing from the double sided tape and apply the sticker to your airframe. (fig.3)
Eh voilà.
SUBSCRIBE FOR FRESH CONTENT
Follow me on social media for updates.